How to Make a Whimsical "Rag Flag"
Although I have found my design niche in styling spaces for magazines and media, I would not describe myself as an overly “crafty” person. I sold my sewing machine a week after buying it and I did not inherit any of my father’s carpentry skills. As the mother of seven children however, I’m the cut and paste queen!

To purchase this rug, click here. Photo Credit: Evin Photography
After admiring a photo of an American “rag flag” on Instagram for over a year and learning that it was a rental when I tried to purchase it, several friends encouraged me to make one. Much to my surprise, I am REALLY GOOD at ripping fabric and tying it to a stick! This flag came out better than expected and with a little help from my children, turned into a great family project! Whether you are crafty person or someone who has never purchased fabric before, this is festive project that you can take pride in making!

Materials Needed:
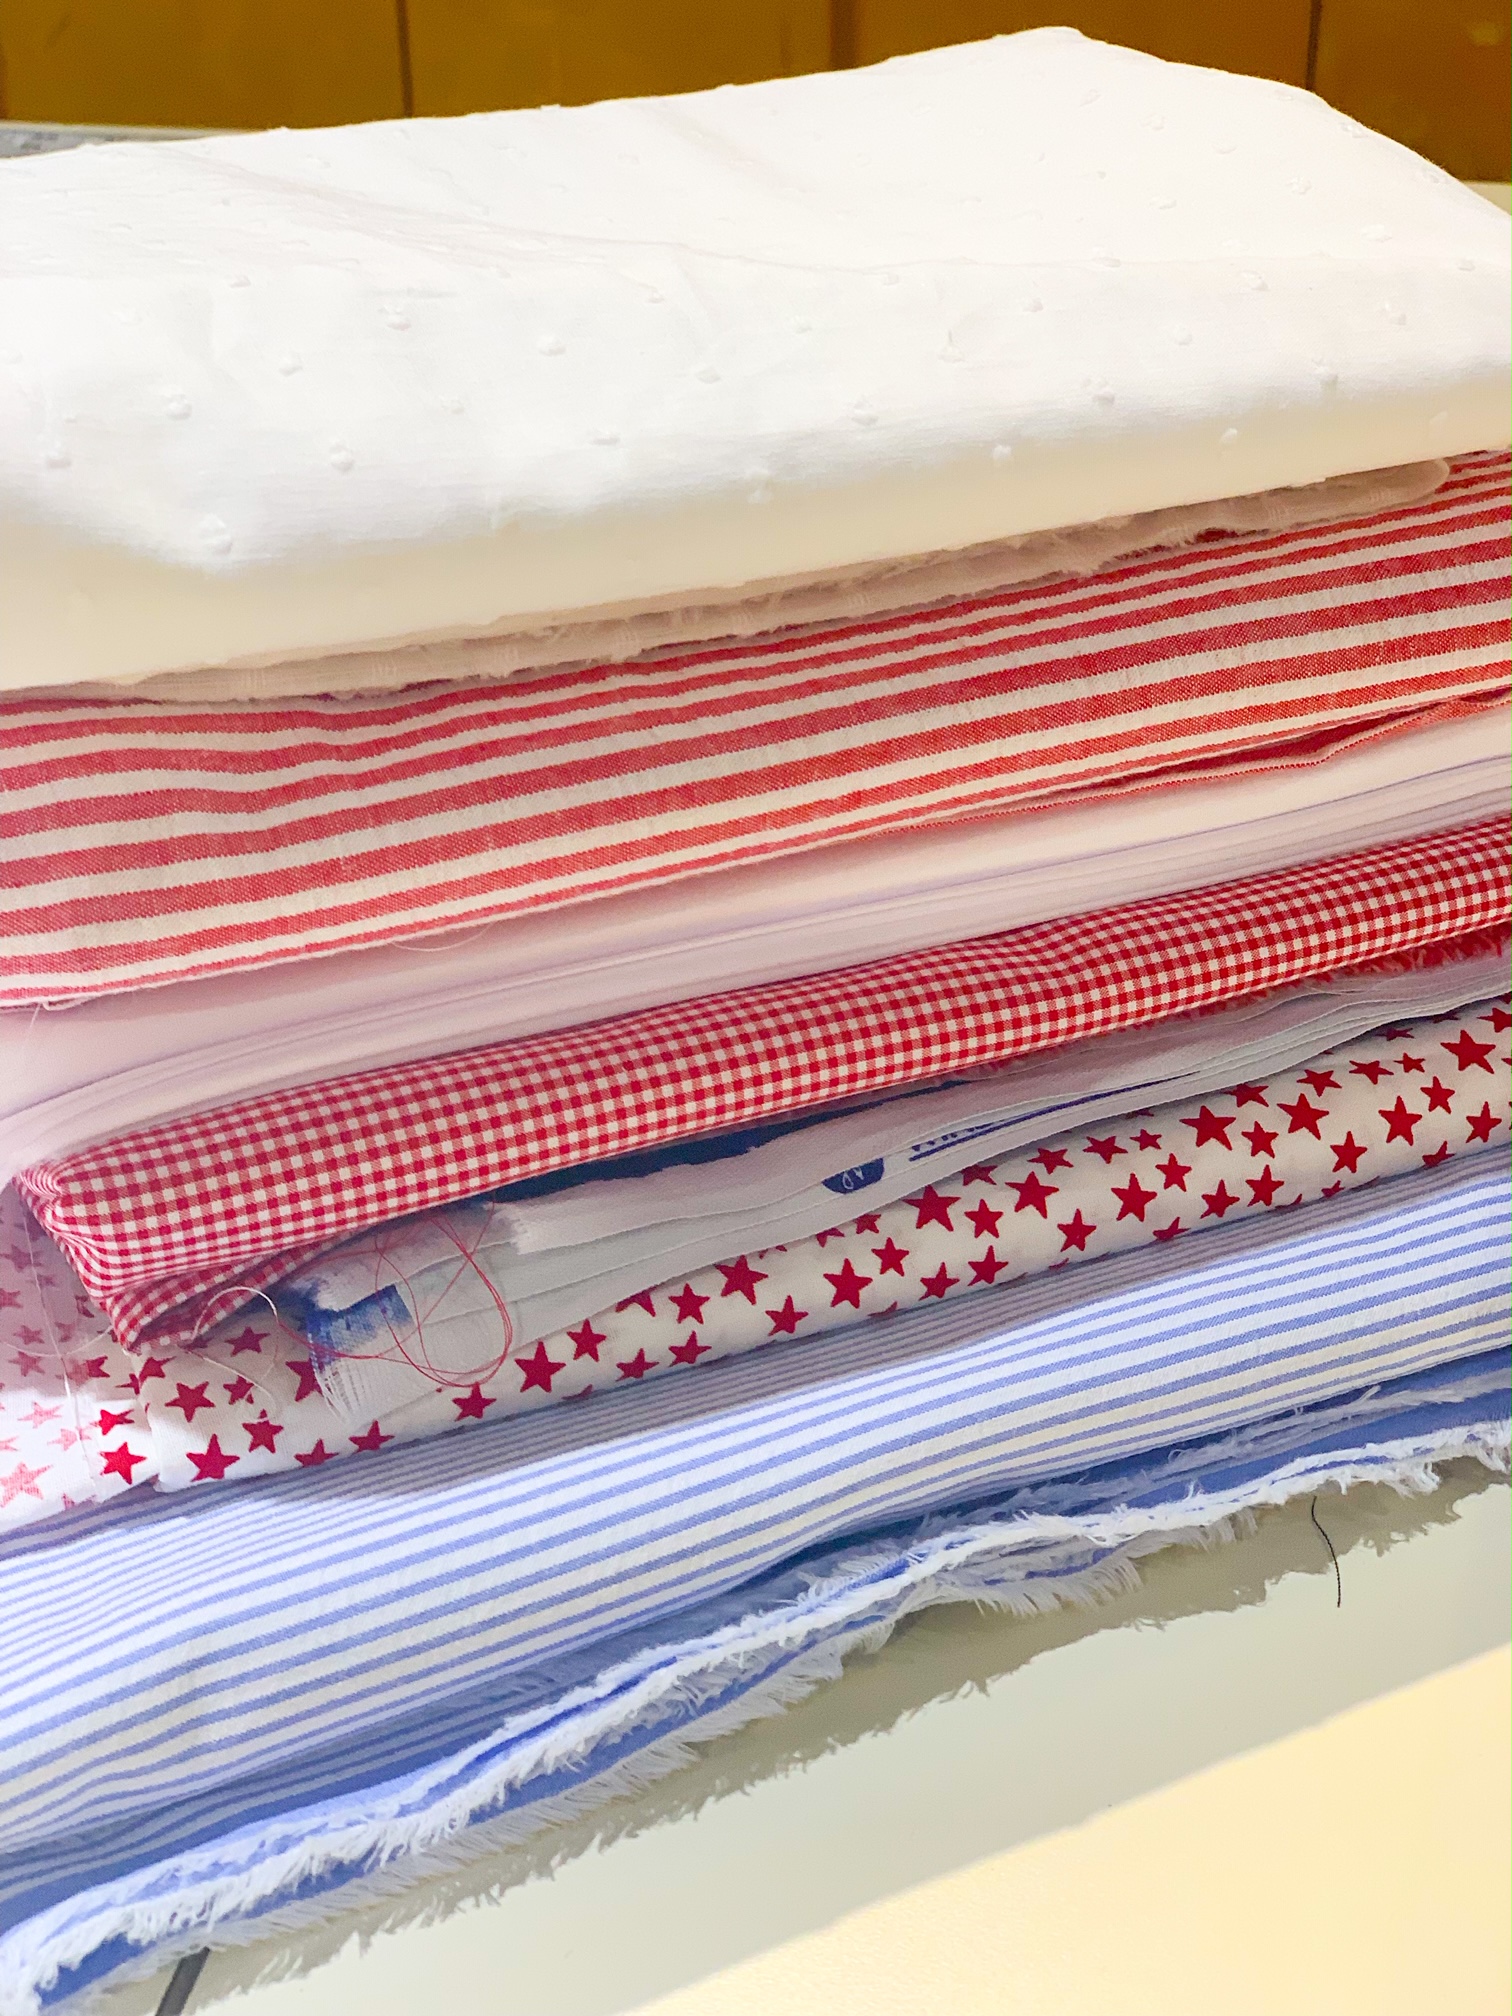
· Various red fabrics
· Various white fabrics
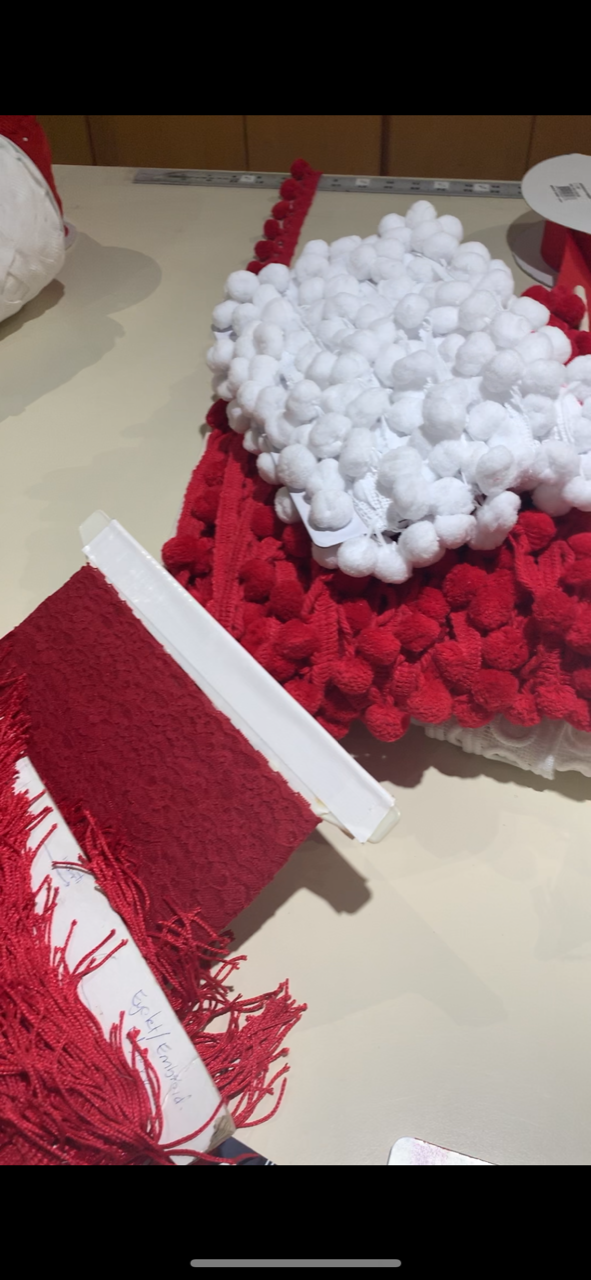
· Jumbo White Rick Rack (1 ¼ in)
· 3’ or 4’ stick or wooden rod
TIP: I made a 4’ x 6’ flag to hang from a pergola outdoors although I had enough left over to make a small 2’ x 3” flag to hang under a tree, pictured below. (Another popular flag size is 3’ x 5’ although you can make it to any length desired.)

The smaller flag made with leftovers. Perfect next to a tree swing.
Prep Work:
1. I first started by purchasing all of the fabric. I got red and white solids, red seersucker, red and white stripes and white cotton minky dot. If the fabric is 100% cotton, you can just cut a small cut in the top and it will rip in a STRAIGHT line. This was mind blowing to me! For my sized flag, I bought 2 yards of each.
2. I also purchased various rick rack or pom poms for a bit of whimsy, roughly 4-6 yards.
3. I purchased star fabric from Joann Fabrics. I got one yard for my flag.
4. With a small hand saw, I cut a 4’ tree branch from a tree in our yard. You can also use a dowel rod from a craft store (or even a wire hanger if you want your kids to make their own.)
Steps:
1. Cut red and white fabric into 3” in strands about 5’-6’ feet long if you are making a larger flag. (Adjust proportionately if you are making a smaller one.) These strips don’t have to be perfect or even all the same length.
2. Alternate red and white strips across the length of the stick…leaving 2-4” inches of stick bare so that you can hang it up. Tie each strip to the stick making sure to leave the free end pointing up if you can.

3. After you have all of the red and white fabric tied, tie in some of the rick rack and pom
pom. This just adds a bit of pop to your flag.
4. Cut the star fabric to fit your flag proportionately. I cut mine 18” x 24”.
5. After you have your star fabric rectangle, on the shorter side, cut small strips, just at the top, to tie to the stick. (I cut 3” – 4” into the fabric.)
6. Tie the strips of the star fabric, amongst the red and the white, to complete the flag.

7. You can fabric glue rick rack along the perimeter of the star fabric to give it a border as I did..or just leave it plain.
8. Take pride in the USA by hanging your crafty creation with twine!
